No-Bake Chocolate Oreo Icebox Loaf: Ultimate 9-Step Treat
Introduction
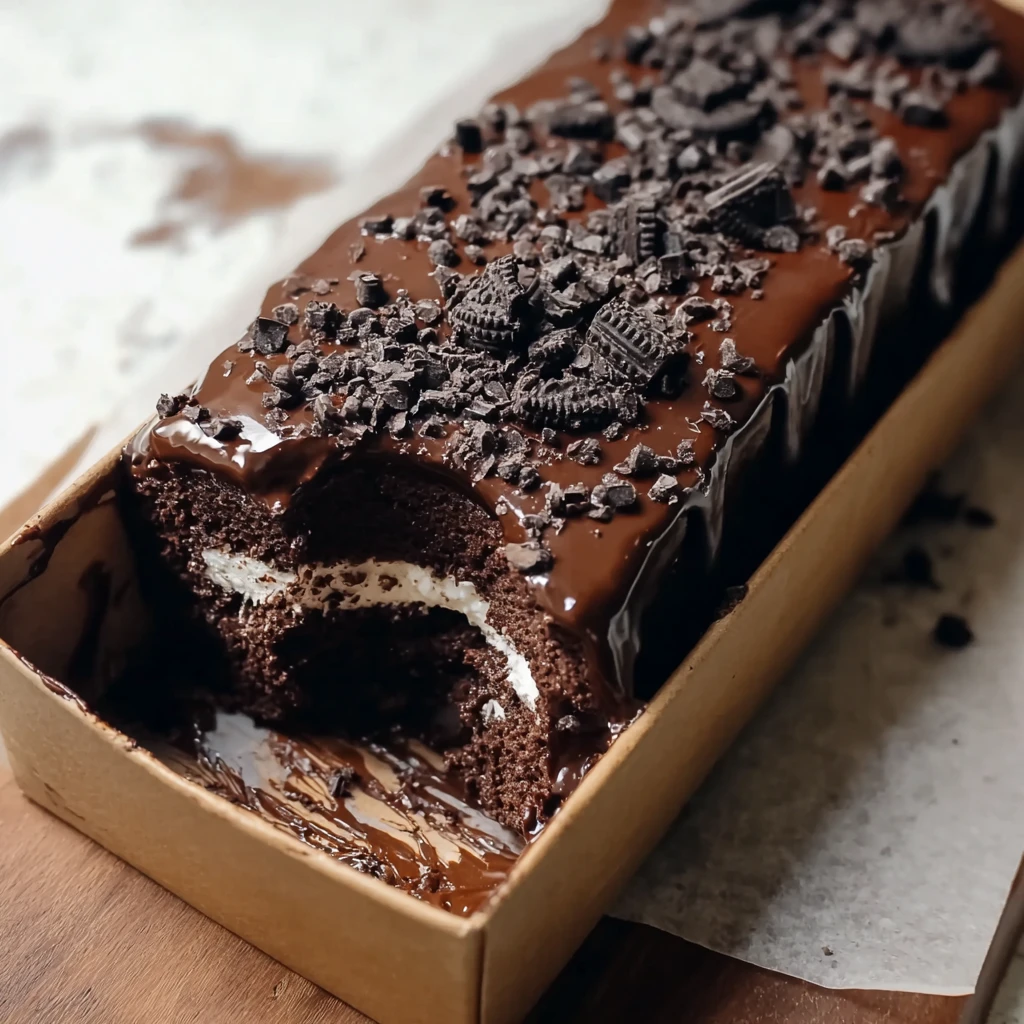
Welcome to a delightful culinary adventure where we explore the art of creating a mouthwatering dessert that requires no baking – the No-Bake Chocolate Oreo Icebox Loaf. Imagine indulging in layers of rich chocolate, creamy filling, and the irresistible crunch of Oreo cookies. This recipe is not only a treat for your taste buds but also a breeze to make, making it a perfect choice for any occasion.
What makes this recipe truly special is its simplicity and convenience. With just a few basic ingredients and easy-to-follow steps, you can whip up a decadent dessert that will impress your family and friends. Whether you are a seasoned baker or a novice in the kitchen, this No-Bake Chocolate Oreo Icebox Loaf is sure to become a favorite in your recipe collection.
The origins of icebox cakes date back to the early 20th century when home cooks would create simple yet delicious desserts using layers of cookies and cream chilled in the refrigerator. This modern twist with Oreo cookies and chocolate takes the classic icebox cake to a whole new level of decadence and flavor.
Get ready to embark on a culinary journey that will satisfy your sweet cravings and leave you craving for more. Let’s dive into the world of No-Bake Chocolate Oreo Icebox Loaf and discover why this recipe is a must-try for dessert lovers everywhere.
Why You’ll Love This Recipe
This recipe is perfect for those who crave a sweet treat but don’t want to spend hours in the kitchen. The No-Bake Chocolate Oreo Icebox Loaf is quick and easy to assemble, making it ideal for busy days or last-minute dessert needs.
One of the best features of this recipe is its adaptability. You can easily customize the ingredients to suit your dietary preferences, whether you prefer a lighter version or want to indulge in a more decadent treat.
With a perfect balance of chocolatey goodness and creamy texture, this dessert is a crowd-pleaser at any gathering. Its luscious layers of Oreo cookies and velvety filling create a symphony of flavors and textures that will leave everyone asking for seconds.
Whether you’re hosting a dinner party, celebrating a special occasion, or simply treating yourself to a sweet indulgence, the No-Bake Chocolate Oreo Icebox Loaf is a versatile and delicious dessert option that is sure to delight your taste buds.
Ingredients
For this delectable No-Bake Chocolate Oreo Icebox Loaf, you will need the following ingredients:
– 2 packages of Oreo cookies – 1 cup of heavy cream – 1 cup of cream cheese – 1/2 cup of powdered sugar – 1 teaspoon of vanilla extract – 1/2 cup of melted chocolate – Chocolate shavings for garnish
Feel free to customize the recipe by adding your favorite toppings or incorporating different flavors of Oreo cookies for a unique twist. You can also use low-fat or dairy-free alternatives for a lighter version of this indulgent dessert.
Step-by-Step Instructions
1. In a mixing bowl, whip the heavy cream until stiff peaks form. 2. In a separate bowl, beat the cream cheese, powdered sugar, and vanilla extract until smooth. 3. Gently fold the whipped cream into the cream cheese mixture until well combined. 4. Line a loaf pan with plastic wrap, leaving some overhang for easy removal. 5. Spread a layer of the cream mixture on the bottom of the pan. 6. Top the cream layer with a single layer of Oreo cookies. 7. Repeat the layers until you reach the top of the pan, finishing with a layer of the cream mixture. 8. Drizzle the melted chocolate over the top and swirl with a knife for a decorative effect. 9. Cover the pan with plastic wrap and refrigerate for at least 4 hours or until set.
Before serving, garnish the No-Bake Chocolate Oreo Icebox Loaf with chocolate shavings for an elegant touch. Slice into portions and enjoy the heavenly combination of flavors and textures in every bite.
Expert Tips for Success
To achieve the best results with this recipe, ensure that the heavy cream is well chilled before whipping to stiff peaks. This will create a light and airy texture for the cream filling, enhancing the overall mouthfeel of the dessert.
When layering the Oreo cookies and cream mixture, gently press down on each layer to create a compact and uniform loaf. This will make slicing and serving the dessert easier and ensure that each bite has a perfect balance of flavors.
For a more decadent variation, you can add crushed Oreo cookies between the layers for extra crunch and flavor. Experiment with different types of chocolate or flavored cream cheese to create your own unique twist on this classic recipe.
Remember to refrigerate the No-Bake Chocolate Oreo Icebox Loaf for the specified time to allow the flavors to meld together and the dessert to set properly. This chilling time is crucial for achieving the perfect consistency and texture of the finished dish.
Variations and Substitutions
If you’re looking to switch up the flavors in this recipe, consider using mint chocolate cookies for a refreshing twist or peanut butter-filled cookies for a nutty flavor profile. You can also add layers of fresh berries or sliced bananas between the Oreo cookies for a fruity addition.
For a dairy-free version of this dessert, substitute coconut cream for the heavy cream and dairy-free cream cheese for the cream cheese. You can also use vegan chocolate and Oreo-style cookies to create a plant-based alternative that is just as delicious and satisfying.
Serving Suggestions
To serve the No-Bake Chocolate Oreo Icebox Loaf, simply remove it from the loaf pan using the overhanging plastic wrap and place it on a serving platter. Garnish with additional chocolate shavings or a dusting of cocoa powder for an elegant presentation.
This decadent dessert pairs perfectly with a scoop of vanilla ice cream or a dollop of whipped cream on the side. For a special touch, drizzle some chocolate sauce over the slices before serving to enhance the visual appeal and add extra sweetness.
Whether enjoyed on its own or paired with your favorite hot beverage, this No-Bake Chocolate Oreo Icebox Loaf is a versatile dessert that is sure to please any crowd. Get creative with your presentation and garnishes to make each serving a feast for the eyes as well as the palate.
FAQs
Q: Can I make this recipe in advance?
A: Yes, you can prepare the No-Bake Chocolate Oreo Icebox Loaf a day ahead and refrigerate it overnight. This dessert actually benefits from some chilling time, allowing the flavors to meld together for a more cohesive taste.
Q: Can I use different flavors of Oreo cookies?
A: Absolutely! Feel free to experiment with different Oreo flavors to create unique variations of this dessert. From classic chocolate to fruity or minty options, the possibilities are endless.
Q: How long will the No-Bake Chocolate Oreo Icebox Loaf keep in the refrigerator?
A: When stored in an airtight container, this dessert will keep well in the refrigerator for up to 3-4 days. Just make sure to cover it securely to prevent any odors from affecting the taste.
Final Thoughts
As you embark on your culinary journey with the No-Bake Chocolate Oreo Icebox Loaf, remember that cooking is an art form that allows for creativity and personal expression. Whether you follow the recipe to the letter or add your own unique twists, the joy of sharing a delicious dessert with loved ones is what truly matters.
So gather your ingredients, roll up your sleeves, and let the sweet aroma of chocolate and Oreo cookies fill your kitchen. With each layer carefully crafted and every bite savored, you’ll create memories that linger long after the last slice is gone. Indulge in the simple pleasures of homemade goodness and treat yourself to a slice of happiness with this delightful dessert.

No-Bake Chocolate Oreo Icebox Loaf: Ultimate 9-Step Treat
Indulge in layers of rich chocolate, creamy filling, and the irresistible crunch of Oreo cookies with this delightful no-bake dessert. Perfect for any occasion, this easy-to-make recipe is sure to become a favorite in your collection.
Ingredients
- 2 packages of Oreo cookies
- 1 cup of heavy cream
- 1 cup of cream cheese
- 1/2 cup of powdered sugar
- 1 teaspoon of vanilla extract
- 1/2 cup of melted chocolate
- Chocolate shavings for garnish
Directions
- In a mixing bowl, whip the heavy cream until stiff peaks form.
- In a separate bowl, beat the cream cheese, powdered sugar, and vanilla extract until smooth.
- Gently fold the whipped cream into the cream cheese mixture until well combined.
- Line a loaf pan with plastic wrap, leaving some overhang for easy removal.
- Spread a layer of the cream mixture on the bottom of the pan.
- Top the cream layer with a single layer of Oreo cookies.
- Repeat the layers until you reach the top of the pan, finishing with a layer of the cream mixture.
- Drizzle the melted chocolate over the top and swirl with a knife for a decorative effect.
- Cover the pan with plastic wrap and refrigerate for at least 4 hours or until set.
- Before serving, garnish with chocolate shavings.
- Slice into portions and enjoy!